The Home Sessions: Tino on Fingerboarding

Hi Salt Pumpers,
A big howdy from my overcrowded garage where my hangboards live. These days I spend a lot of time with my energetic 3+yo son, working on my wrist mobility kneading a lot of dough and I’m quickly wearing the tread down on a pair of runners to burn off all of the carbo loading. So my training has been intermittent, but when it happens it includes fingers to keep them ready for climbing again.
Hangboard sessions are pretty easy to fit in since they are often short and quality based. They are arguably the most effective, sport specific form of training that can be done in climbing. If you have some time climbing under your belt, maybe you’re ready for a digital upgrade.
A good hangboard routine can get you better finger strength and health. These workouts don’t have to be exciting, just effective. We’re not going to get deep into the science (that’s a much longer video), just into what you need to do it safely and effectively. Looking forward to seeing everyone again soon! Now time for an edge-ucation!
Tino
What You Need To Start
But there are some baseline requirements, like space and tools for a warm-up. It can be any number of activities – I do a 5-10 minute warm-up of push-ups, pull-ups, and hangs (see below) to get the body & fingers warm. It’s best not to hangboard after a big workout or after a climbing session, as you want to give this your all and make it high quality!
As for tools, you’ll need a securely mounted hangboard, preferably with enough head room for full pull-ups. The board should include jugs and edges of different sizes, one of which you can hang for at least 15 seconds. Some chalk and toothbrush are key too…because we’re climbers 😉
My Warm-up Routine
- 50 – 100 jumping jacks (cardio)
- (3) sets of :
- 5-10 pull-ups (agonist)
- 10-15 push-ups (antagonist)
- 15-second hang on a (set1 – Jug, set2 – Largest edge, set3 – Medium edge) (activity specific warm-up)
Proper Position
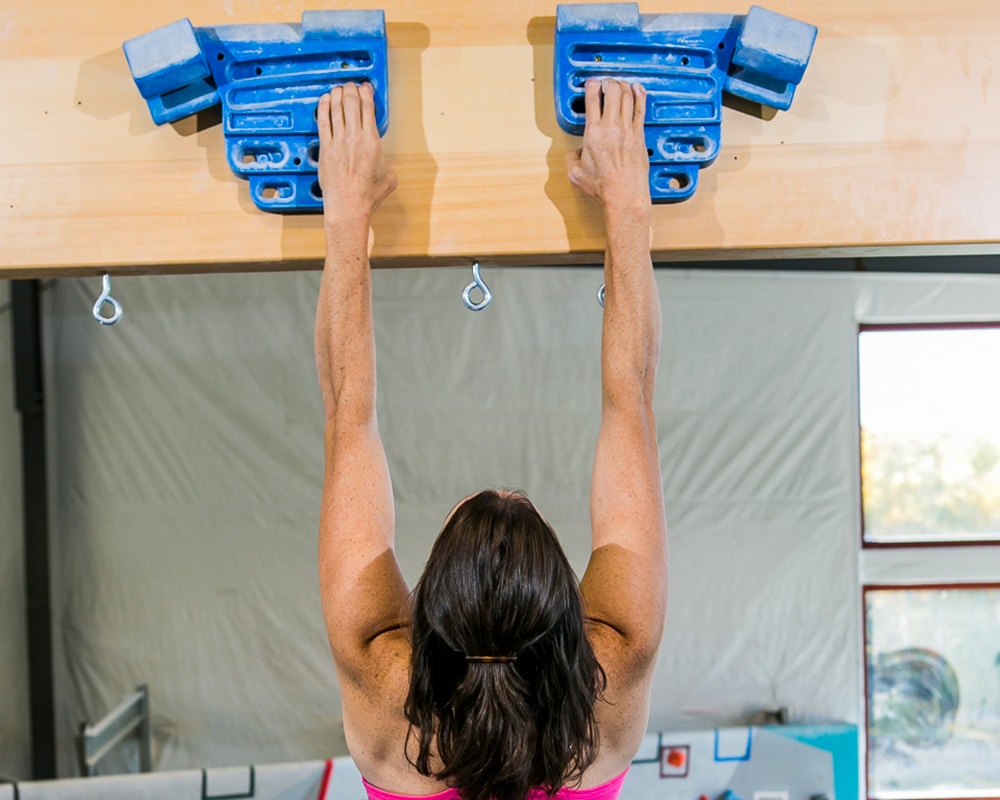
There are two key elements in proper hangboard form – upper body engagement and grip position. Proper upper body form means engagement through your shoulders, back, and elbows. You should NOT hang fully straight-armed for “slacked-out”. There should be a little bend in your elbows, your shoulders should be slightly rolled out where you can feel the muscles between your shoulder blades engaging. The quick explanation here is that it’s healthier for your shoulders and sets you up properly to actually pull when you latch a hold. Yes, you can probably hold more weight in poor form, but it’ll likely be at the expense of your joints.
Out of simplicity’s sake, we’re just going to use a single grip – the half-crimp. It will help maintain finger health and gives you strength benefit in other positions, meaning it’ll help you a bit for an open hand grip (ie. slopers) as well as for a closed hand grip (ie. crimp). Proper hand position is to bend your second knuckles at a 90 degree angle, the thumb can be tucked or relaxed. Hold that position and don’t allow your hand to lose form into an open hand grip.
The Protocol
There are a lot of hangboard protocols. This Minimum Edge Width protocol is simple and very adaptable. Ten second hangs and 3m (or til fresh) rest, repeat 5 times. That means a total time-under-tension of 50 seconds. Be mindful about what you do while resting, you want to feel fresh and pull your hardest – Quality.
(10s hang + 3m rest) x 5 reps
1 set per session if you’re new to hangboarding, 2 if you’ve trained before (10 min rest between sets)
2x per week for 4 weeks
Additional Sources
For the best information on training for rock climbing and fingerboarding in particular, we often look to the following elite level climbers and coaches.
- Eva Lopez – Spanish PhD, Climbing Coach. She is a primary resource.
- Climb Strong – Steve Bechtel
- Power Company Climbing – Kris Hampton
- Dave MacLeod
- Lattice Training
